 ?>
?>
 ?>
?>
 ?>
?>
 ?>
?>
 ?>
?>
 ?>
?>
 ?>
?>
 ?>
?>
 ?>
?>


Don’t know what this contouring business is all about? We let you in on the basics!
Celebrities always turn up at red carpet events with glowing faces which look perfectly sculpted. Is it always a case of #Iwokeuplikethis or is it the power of makeup?
The makeup techniques used to create a slimmer, more radiant profile were industry secrets in the days of old, but in recent years, we see more of these techniques coming to light. How many times have you heard a YouTube makeup tutorial junkie bring up the words, ‘contouring’ and ‘highlighting’? Now you can get in on those beauty secrets.
The Basic Blush
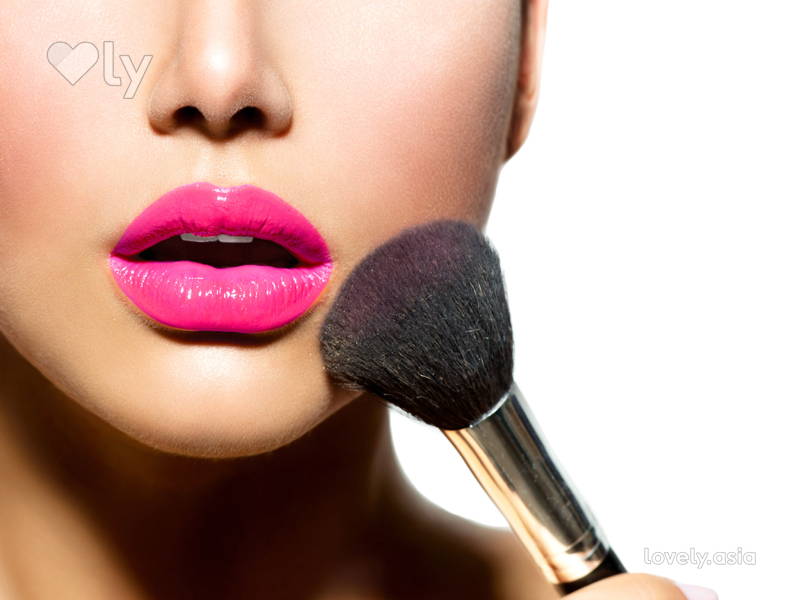 A little rouge gives your face a healthy looking flush. It’s important to choose the right shade of blush for your skin tone. Choose pink if you’re fair skinned, rose if you have olive skin, orange if you have warm or caramel tones, and berry if you have darker skin. Peach and apricot shades of blush are great for all skin tones.
With a dab of blush, you can look like a blushing bride, or a sexy seductress. It all depends on where you apply your blush. To simulate flushed skin, smile and apply your blush on the apples of your cheeks. Blend to soften your blush so that it looks natural and not caky. For a more sculpted look, suck in your cheeks and apply your blush along the line of your cheekbones at a 45-degree angle and blend upwards to your ear. The most important thing to remember when applying blush is that a little goes a long way. Work in a little bit of blush first and stop once you see colour. If the colour is insufficient, add on colour layer by layer instead of brushing on too much colour at once. The idea is for your blush to look like it’s a part your face, not an addition. Remember: classy, not “clowny”.
Once you’ve chosen a shade of blush, it’s time to choose a formulation that suits your skin type best. Powder blush goes well with all skin types, particularly oily skin types, for longer lasting colour. Gel blush is good for dry skin because it glides right on, and will not look flaky. Liquids such as stains work similarly to gel blushes, only that they must be applied quickly. Cream blush is good for dry or ageing skin as it has a rich and heavier texture.
Contouring 101

SOURCE: beautyhackidea.com
The point of contouring is to create shadows and depth on your face. It helps slim and sculpt areas of your face such as your jawline and nose bridge. Before you begin, be sure to choose a contouring product that is a few shades darker than your natural skin tone. Also be sure to use matte powder or cream when contouring, as you want to create natural and realistic looking shadows and depth.
A popular technique for contouring is drawing the number three on the sides of your face. Draw a ‘3’ on either side of your face: using a flat-headed brush, start along your hairline at the top of your forehead, then curve under your cheekbone for the “3’s” smaller semi cicle, then, curve back out along your jawline. Blend well with an angled brush that has soft, slanted bristles.
After you’re satisfied with the result, work on your nose. Using an angled or tapered eyebrow brush, draw a line along both sides of your nose starting from your brow bone till you reach the end of your nose. Be sure to blend any harsh lines away so that your lines look like natural shadows. A good tip would be to use a damp blending sponge. Be sure to look at your face under natural light to check if your makeup is well blended.
Highlighting The Right Areas

SOURCE: amandasparkles.wordpress.com
If you contour, then you must highlight. You want to balance out the shadows and depths that you’ve created so your face looks natural and glowy. The trick to knowing where to highlight is to identify the parts of your face where light will hit first. Opt for a matte highlighter for a natural look, or get one with a bit of shimmer for evening functions.
These are the parts we want to focus on – the middle of your forehead, underneath the arch of your eyebrows, the inner corners of your eyes, your nose bridge, the top part of your cheekbones, your cupid’s bow, and the middle of your chin. Use a fan brush for all those parts except for underneath the arch of your eyebrows, the inner corners of your eyes, and your cupid’s bow. For the area beneath the arch of your eyebrows, use a normal eye shadow brush. Use any sort of small eyebrow brush or even your finger for the inner corners of your eyes, and a lip brush for your cupid’s bow. Set everything with a finishing powder and you’re good to go!
Don’t know what this contouring business is all about? We let you in on the basics!


